Roadmap
- Create a GitHub repository;
- Setup a Rails application;
- Create an account on Travis CI and link it with your repository;
- Create an account on Heroku and link it with the repository;
- Start the heroku console from the terminal;
- Setup a travis yml file;
- Push it.
TL DR;
If you just want to know about how to connect Travis CI and Heroku jump to the step 3 Create an account on Travis CI and link with your repository.
1. Create a GitHub repository
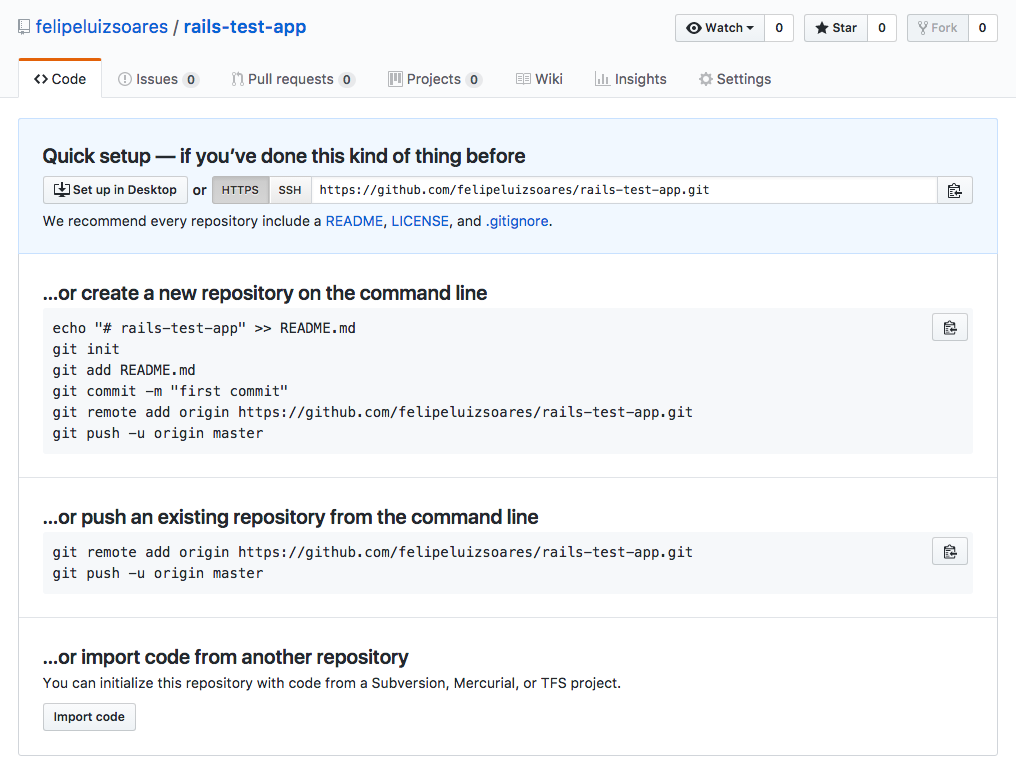
Create a GitHub repository with your account and clone it using HTTPS or SSH, to keep this simple as possible I’ll pick HTTPS:
$ git clone https://github.com/felipeluizsoares/rails-test-app.git
After clone, enter at the directory using:
$ cd rails-test-app
2. Setup a Rails application
To initiate the Rails application you need to have already installed ruby and rails on your computer, for this, I highly recommend you to use RVM.
You’ll also need a database to run your app, install PostegreSQL for that. Follow the instructions from the official website picking your OS option.
Now you can run the follow commands in your terminal:
First install bundler:
$ gem install bundler
Install Rails:
$ gem install rails
Finally, create a Rails app with PostgreSQL using the name of the current folder:
$ rails new --database=postgresql .
…….
……………
Ok, it’s done, after all that code running down by your screen, your terminal is available again!
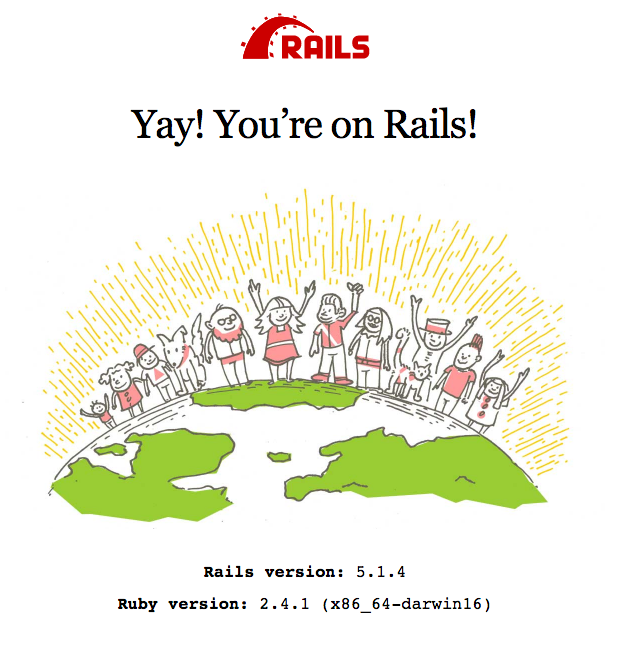
Just to check if everything is working as well, type the follow command to start the Rails server and check localhost:3000 in your browser.
$ rails server
If it’s the same screen below, great! Keep going, if isn’t, try to check the steps that you did until now.
Send the created app to GitHub, commit and push to master:
$ git add .
$ git commit -m "Add initial structure"
$ git push origin master
3. Create an account on Travis CI and link it with your repository
To do that you can go to https://travis-ci.org/, to make it easier create your account using your Github.
You will see the Authorize Screen telling to accept and link Travis CI with your Github account.
Inside your account, on Accounts option click on the switch besides the repository name as the gif below.
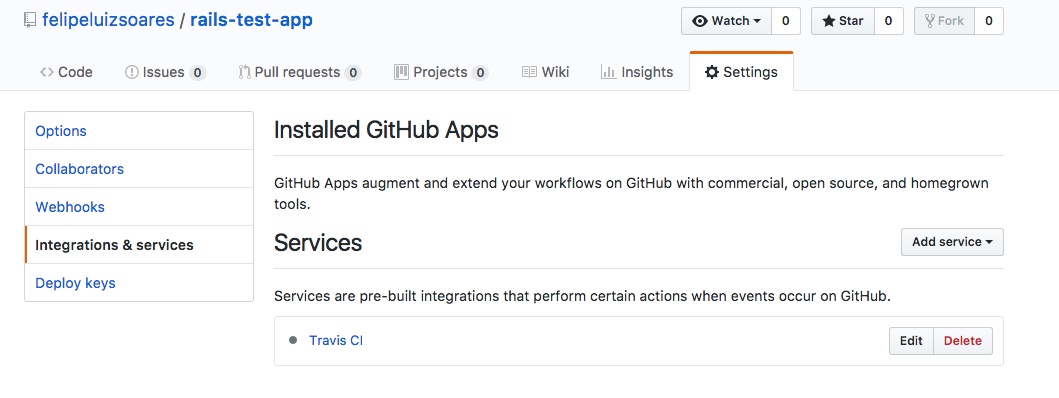
Check the repo again going to Settings and Integrations & services. Oh, can you see Travis CI over there?
4. Create an account on Heroku and link with the repository
At https://www.heroku.com/ create a new account, you need to confirm your email and all that stuff. When you have finished, click on “Create New App”.
Inside your application, go to “Deploy”, search for “Deployment method” and then select the GitHub option.

A wild window appears, “Authorize Heroku”, accept it, and to complete the connection just search by the name of the repository and connect!
At Deploy tab on the “Automatic deploys” section don’t forget to check the “Wait for CI to pass before deploy” option and enable the Automatic Deploys:
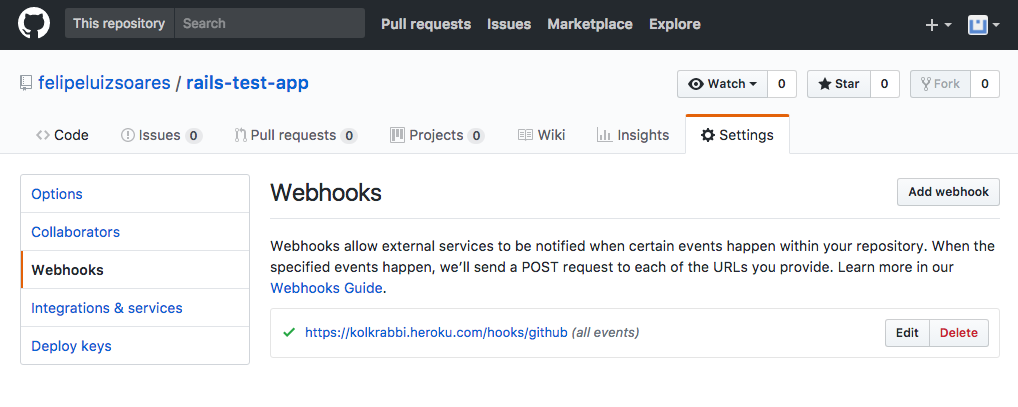
Back to your Settings page on GitHub Repository, on the Webhooks, guess who is there?
5. Start the Heroku console from the terminal
Now that you have Heroku linked with the repo, install the Heroku CLI and login with our new account.
To install the Heroku CLI just follow the official documentation, if you are using a Mac OSX like me, just use:
$ brew install heroku/brew/heroku
Now with heroku installed, enter with your account:
$ heroku login
Put your email and password so you would see this message:
“Logged in as your@email.com”
Create a remote reference to your repo:
$ heroku git:remote -a rails-test-app-article
Done! Now you can directly push to your Heroku and deploy your app by the terminal, however, we will learn in the last steps how to put all these things together!
6. Setup a travis yml file
Let’s start creating a file
$ touch .travis.yml
Now open the created file and paste this code:
language: ruby
cache:
- bundler
before_script:
- bundle exec rake db:create
- bundle exec rake db:migrate
- bundle exec rake assets:precompile
deploy:
  provider: heroku
  api_key:
    secure: KEY
  app: rails-test-app-article
  on:
    repo: felipeluizsoares/rails-test-app
In this yml file I’m defining:
- The language to the Travis CI knows what to do to run my code;
- What I want to cache, in this case is the bundler, in a Node JS example would be node_modules;
- The scripts to run before the script itself, I’m creating the DB, running the migrations and pre-compiling the assets;
- Creating a deploy task to run at Heroku, to do that Is needed the API KEY (we don’t have it yet), the name of the app at Heroku(rails-test-app-article) and the name of the repo at Github(felipeluizsoares/rails-test-app)
To get the API KEY from Heroku just run a command on terminal, although this key needs to be secret so we should encrypt that before putting it in the file.
Install the Travis CI gem to be able to use the encrypt from Travis:
$ gem install travis
Now, run this code that will envoque the encrypt and pass the Heroku API KEY
$ travis encrypt $(heroku auth:token)
You probabaly will see this message: “Detected repository as yourname/reponame, is this correct? |yes|”
Answer with yes and 🎉 🎉 you have your API KEY!
So replace the KEY at the secure: line on the yml file by your key.
7. Push it
In this last step, push everything you did to GitHub, commit the yml file and push it to a new branch at the repo.
$ git branch -b add-travis-yml-file
$ git add .
$ git commit -m "Add travis yml file"
$ git push -u origin add-travis-yml-file
Inside your repository on Github open a new PR from your new branch, target the master and the CI will be running there.
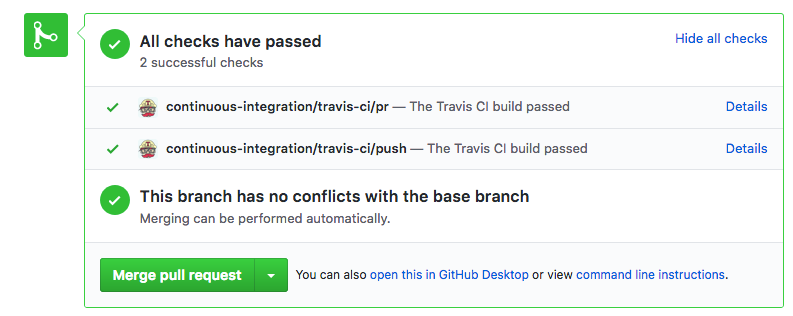
When you merge the PR, go to your Heroku Dashboard and check the lastest activity.

Now evertytime you open a PR Travis will be running the tests and when this PR were merged Heroku will deploy it automatically!
Conclusion
Use this power!
Now you can apply this knowledge to your stack and every time that someone pushes a PR to the project you are working on, check if the tests are passing before merging. You can block the merges when the CI isn’t checked and with these additional steps you are protecting your codebase.
Make it easier!
Forget about deploying to developer every time just to check if something is working or showing some feature to another developer, let Heroku do that for you! When your stack is getting more consistent, you can apply the same automatically deploy to staging and production, check more about it on Heroku Pipelines documentation!
I hope you have learned with this, let me know if you have any questions in the comments 🙂